[@HamRadioCrashCourse] How To Unlock 1 Watt LoRa With The Morbo Kit!
· 4 min read
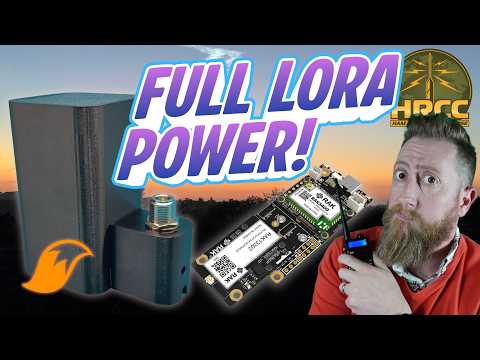
Link: https://youtu.be/_-Qnt2FKFP8
Duration: 19 min
Transcript: Download plain text
Short Summary
Builder Josh KI6NAZ assembles and deploys a Rack Wireless Laura mesh node (nicknamed "Mando"/"Morbo") using a ZeroFox 3D solar kit. He powers the amplifier board via a soldered header jumper, crimps wires into the power connector, pairs the build with an Alpha 915 antenna and Type N connector, and mounts it on a roof trail-cam-style mount running on a 5 W Amazon solar panel before firmware flashing.
Key Quotes
- "I did not set it up completely correctly and thus I was only getting half a watt, less than a a full watt output as promised." (00:00:11)
- "The kit's about $52 if you want to go with the upgraded kit or what they're calling the pro kit, it's $12 more." (00:00:40)
- "And if you go with the pro model, that includes a current and voltage sensor that you include when connecting to a solar panel or working with that." (00:00:51)
- "all springs are negative, right? So into the caddy, negative, negative, negative, like a so." (00:10:28)
- "I guess the best thing you can do with a solar node is if you have no complaints and no issues, then it's working as exactly as expected." (00:18:35)
Detailed Summary
Episode Summary: ZeroFox 3D Solar Kit Build & Roof Deployment of the Rack Wireless Laura Mesh Node
Build Context & Hardware
- A Rack Wireless Laura device was set up a couple of months ago for MeshTastic or MeshCore, originally achieving only half a watt because the amplifier board was not being powered.
- A wiring harness must be plugged into the Rack board to unlock the full 1 W output, and a header jumper was soldered onto the board to wire the power cords over to it.
- The Bluetooth antenna is adhesive-mounted and was salvaged from the previous build; the original adhesive tore off and a replacement Bluetooth low-energy antenna was used.
ZeroFox 3D Kit & Solar Setup
- ZeroFox 3D sells a solar kit for the 1 W board at about $52, with an upgraded "pro kit" available for $12 more that adds a current and voltage sensor for solar panel monitoring.
- Per a ZeroFox 3D YouTube video, the battery tray should be installed without batteries for fitment; Samsung batteries were placed in the caddy with all springs treated as negative.
- The builder cut a wire too short and had to bridge to the upper terminal with an extra piece of wire.
- Wires were crimped into the power connector: two black wires in the third and top positions and the red wire in the fourth position.
- A 5 W inexpensive solar panel sourced from Amazon was used, with its leads snipped, stripped, and connected to the marked positive and negative solar input on the kit.
- The kit charges via a coaxial connection instead of a USB-C contraption, and can be configured for either an SMA or Type N antenna connection depending on preference.
Antenna, Power-Up & Deployment
- The device uses a Type N connector paired with an Alpha 915 antenna.
- On power-up the unit showed a flashing red light and a flashing green light, confirming it was alive.
- Before deployment the builder intended to program the device and perform a firmware upgrade to make sure it was "up to snuff" for roof installation.
- The node, nicknamed "Mando" / "Mambo number five" / "Morbo," was mounted on the roof using a pre-existing trail-cam-style mount and is running on solar power.
Sign-Off
- The builder identified himself as Josh KI6NAZ, signed off with "73," and noted that a link to the kit is available in the video description.